StackCheats
WSO2 API Manager & Okta SAML2 SSO
A Guide: SAML2 SSO Okta & WSO2 API Manager
January 19, 2020

Greetings Everyone! 👋
In this medium, I will be 🚶with you all on how to configure SAML2 SSO (Single-Sign-On) between Okta Cloud Identity Provider 🔒 and WSO2 API Manager.
The demonstrations are made using WSO2 API Manager v2.6 and WSO2 Identity Server as Key Manager v5.7
Sensitive data are masked in all attached screenshots [Therefore, don’t waste your time investigating 🕵 blank spaces]
🔐 Configuring Okta
We’ll start the demo by setting up the Okta and creating a SAML2 Provider.
We need an Okta account to continue. So, go to the Okta Developer portal, and sign-up for a developer account (it’s FREE 🎉 🙌 👌) if you don’t have one. After a successful creation and verification, log-in to your developer account and follow me …
Change the appearance of the Developer Console to Classic UI

Next, select the Add Application as shown below

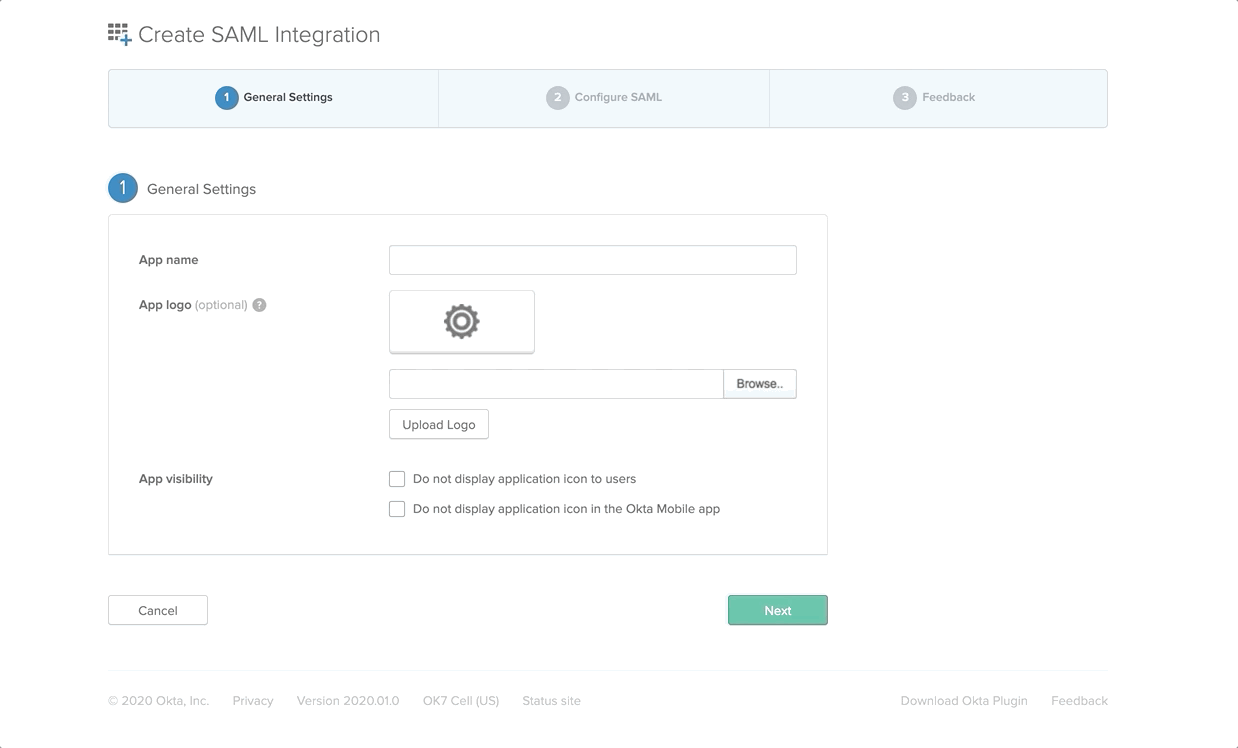
Select the Create New App in the displayed UI, and select SAML 2.0 and click on Create as following

Prompt the following in the next screen (which will a step-progress form)
- App Name:
OktaSAMLApplication - Single Sign-On URL:
https://localhost:9444/commonauth - Audience URI:
OktaSAML
Now go to the Assignments tab and click on Assign to assign people and groups to the created SAML2 Provider.
Tip:
Assign the default profile to continue with the demo. If you don’t assign any people or group of people (Everyone), then at the point of SSO execution, Okta will throw an Error message
Go back to the Sign On tab and select View Setup Instructions as follows to download the Okta’s public Certificate and Metadata to configure Identity Provider in the WSO2 Identity Server.

Scroll down to the bottom, and you’ll find a Download Certificate button and a section named Optional.
Download and save them both in your environment for future references …
Note:
Configure Okta User Profile with Roles and add the
Subscriberrole. You can follow WSO2 API Manager & Okta SSO to configureRolesattribute.
Or, scroll to the very bottom (this article) to find the instructions …
😐 😐 🤐
Another Note:
If you want to change theUsernamepattern of the Okta User, referOkta Username Formatsection in here
We are done with Okta
WSO2 Server Configurations 🛠
WSO2 API Manager & IS Key Manager
To get a fully-fledged SAML2 SSO experience, and User Provisioning features, we need to configure WSO2 Identity Server as Key Manager with the WSO2 API Manager.
You can follow up on this official Doc to configure WSO2 API Manager & IS Key Manager.
But, if you are too lazy to follow up on the docs (no hard feelings though), then I have a little SURPRISE for you …
May I introduce you to the one and only “Hydrogen CLI”, an interactive CLI tool to configure WSO2 Servers
Clone or download the latest release and fire up configuring WSO2 API Manager with WSO2 Identity Server as Key Manager.
Brief instructions on how to use hydrogen is given at the tail of this article
Identity Provider Configurations
I hope you all are good to continue the demo with a working environment… Yes ??? 🤔
If all are good, then we are good to go …
Fire up the WSO2 IS as Key Manager and navigate to the Carbon management console [https://localhost:9444/carbon]
I assume that you have configured port offset 0 to WSO2 API Manager & offset 1 to IS KM
Go to Main > Identity > Identity Providers > Add and enter the following to create an Identity Provider in the IS KM for our Okta Cloud IdP
- Identity Provider Name:
OktaSAMLIDP - Display Name & Description
- Alias:
https://localhost:9444/oauth2/token

Expand the Federated Authenticators and expand the SAML2 Web SSO Configuration accordion to register a SAML IDP.
- Enable SAML2 Web SSO:
true - Service Provider Entity ID:
OktaSAML(which is the same value given when creating a SAML application in Okta)
Select the Metadata File Configuration for the Select Mode and upload the downloaded Okta metadata and click Register

After making the above-changes as the last step, expand the Just-In-Time Provisioning and select and mark the Always provision to User Store Domain to PRIMARY and make Provision Silently and Save.
Ohh, wait I forgot one thing… 😱😱😱
If we are doing User Provisioning then we have to map the Roles and Claims. Go back again to the Identity Provider Configurations [So sorry for that 😢] and expand the Claim Configurations > Basic Claim Configuration and Define a Custom Claim Dialect
roles:http://wso2.org/claims/role
Next, expand the Role Configurations and Add Role Mapping
subscriber:Internal/subscriber

Again I made your life easy with the following screenshot… I hope you have the same thing as mine or maybe more enhanced … 😏

😫 😓 Let’s meet again after a short commercial break …
Service Provider Configurations
Now, we’ll start configuring a Service Provider for our API Manager.
Direct (again) to the Carbon management console of the WSO2 Identity Server as Key Manager and route to Main > Identity > Service Providers > Add to create a Service Provider.
- Service Provider Name:
API_STORE - SaaS Application:
true(enable it after registering the provider)

Expand Inbound Authentication Configuration > SAML2 Web SSO Configuration and click on Configure.
- Issuer:
API_STORE - Assertion Consumer URLs:
https://localhost:9443/store/jagg/jaggery_acs.jag

Expand Local & Outbound Authentication Configuration and do the following …
- Federated Authentication:
OktaSAMLIDP - Use user store domain in roles:
true

WSO2 API Manager & Site JSON
We have come to the last episode of our configurations (a new beginning). With all the above-mentioned guides and configurations, we have successfully created both Identity Provider as well as a Service Provider
In this section, we will be configuring the Store node of the WSO2 API Manager to contact the Identity Providers and Service Providers to federate with Okta. Route to <APIM>/repository/deployment/server/jaggeryapps/store/site/conf directory and edit the site.json file as follows…
Replace and configure the
keyStoreNameby pointing to the WSO2 Carbon JKS of the WSO2 IS KM pack. It has to be an actual path and not a relative path
"ssoConfiguration" : {"enabled" : "true","issuer" : "API_STORE","identityProviderURL" : "https://localhost:9444/samlsso","keyStorePassword" : "wso2carbon","identityAlias" : "wso2carbon","responseSigningEnabled":"true","assertionSigningEnabled":"true","verifyAssertionValidityPeriod":"true","timestampSkewInSeconds":"300","audienceRestrictionsEnabled":"true","keyStoreName" :"/Users/foo/wso2is-km-5.7.0/repository/resources/security/wso2carbon.jks","passive" : "true","signRequests" : "true","assertionEncryptionEnabled" : "false","idpInit" : "false","idpInitSSOURL" : "https://localhost:9444/samlsso?spEntityID=API_STORE","loginUserNameAttribute" : ""}
🎉 Voila!!! 🎉
We have now successfully configured SAML2 SSO between Okta & WSO2 API Manager [more precisely with the API Store Portal] 👏 👏 👏
Happy Stacking !!!! 🤘 ✌️
Next, we’ll do a simple UAT to verify the reliability …
User Acceptance Testing
Fire up both the WSO2 API Manager & WSO2 Identity Server as Key Manager and direct to the Store portal [https://localhost:9443/store/] and click on Sign-In.
You will be redirected to the Okta’s login page to perform SSO with the Okta user. Enter the Okta credentials and then allow the attributes on the consent screen to continue with the federation and provisioning of the Okta users to the WSO2 API Manager & IS Key Manager.
💡 Bonus
Hydrogen 🔥🔥🔥
Hydrogen is an interactive CLI tool to configure WSO2 Servers (🚧 under construction & active development).
To configure WSO2 API Manager & WSO2 Identity Server as Key Manager, clone or download the hydrogen-cli from here, and follow the given instructions …
Toll-Free Tips:
I would recommend you to use NodeJS v8.9.0 to build the packages without any dependency conflicts
Please install and start your Docker environment, to create Databases and to persist
Hydrogen
A Interactive CLI Tool for WSO2 Servers
Download both WSO2 API Manager & WSO2 IS KM packs and unzip and place them inside a new folder (ex: Setup)
Navigate to the Setup folder and execute the following command (from inside of the folder) to configure IS KM with API Manager including Database creations and configurations
hydrogen distribute:am --is-km --datasource postgres --container --generate
This will configure both the WSO2 API Manager & IS KM packs with appropriate configurations. Download and place the Postgre (or relative) JDBC driver in <APIM>/repository/components/lib directory and start the servers and continue hacking … 🙌 👌
You can find more interesting examples and guides about hydrogen in here as well as from here
👨 Okta User Profile & Roles
To login to the WSO2 API Manager Store portal, Okta users need to have the Internal/subscriber roles assigned to them. As well as the Okta has to pass the assigned Roles with the SAML Assertion response to the WSO2 API Manager at the point of the federation to sign-in the Okta user to the Store portal.
In the Okta Developer portal (Developer console view and not Classic UI), navigate to Users > Profile Editor and select the Okta user profile to edit. On the following, select Add Attribute and make the following changes and Save the attribute

After the above, move to Users > People and select the current User and on the following screen select the Profile tab and click on Edit to add the subscriber role in the Roles field …

Even though we have introduced the Roles attribute to the Okta Users, still, we are missing one part which is we haven’t configured to add the Roles in the SAML Response Assertion
Switch back to Classic UI and navigate to Applications > Applications and select and edit [from the General > SAML Setting] our SAML2 Application. On the Configure SAML screen of the Progress-Form, make the following changes and save …
